Ge 2-9824 Manuel d'utilisateur
Naviguer en ligne ou télécharger Manuel d'utilisateur pour Répondre au téléphone Ge 2-9824. GE 2-9824 User Manual Manuel d'utilisatio
- Page / 18
- Table des matières
- DEPANNAGE
- MARQUE LIVRES
Noté. / 5. Basé sur avis des utilisateurs
INTRODUCTION
Your GE answering system is designed to give you flexibility in use and
quality performance. To get the most from your answerer, we suggest that
you take a few minutes right now to read through this User‘s Guide.
TABLE OF CONTENTS
GETTING STARTED ................................................................................................ 2
DESKTOP INSTALLATION...................................................................................... 3
W
ALL MOUNT INSTALLATION .............................................................................. 4
A
NSWERING SYSTEM SET UP ............................................................................. 5
THE OUTGOING ANNOUNCEMENT (OGA) ............................................................. 5
A
NSWERER OPERATION .......................................................................................... 6
T
URNING THE ANSWERER ON AND OFF ................................................................ 6
MESSAGE PLAYBACK ......................................................................................... 6
S
AVING MESSAGES ........................................................................................... 6
C
ALL SCREENING/AUTO DISCONNECT ................................................................... 7
THE MEMO BUTTON ......................................................................................... 7
R
EMOTE ACCESS .............................................................................................. 9
T
ELEPHONE OPERATION ....................................................................................... 11
PLACING AND ANSWERING CALLS ...................................................................... 11
R
EDIAL .......................................................................................................... 11
F
LASH BUTTON .............................................................................................. 11
MEMORY DIALING .............................................................................................. 12
S
TORING A NUMBER IN MEMORY ...................................................................... 12
C
HANGING A STORED NUMBER ......................................................................... 12
DIALING A STORED NUMBER ............................................................................. 13
C
HAIN DIALING ............................................................................................... 14
T
ROUBLESHOOTING GUIDE ................................................................................... 15
CARE AND MAINTENANCE .................................................................................... 16
S
ERVICE ............................................................................................................ 16
I
NDEX ............................................................................................................... 17
WARRANTY ....................................................................................................... 18
WARNING:
TO PREVENT FIRE
OR ELECTRICAL SHOCK HAZARD,
DO NOT EXPOSE THIS PRODUCT
TO RAIN OR MOISTURE.
SEE MARKING ON BOTTOM / BACK OF PRODUCT
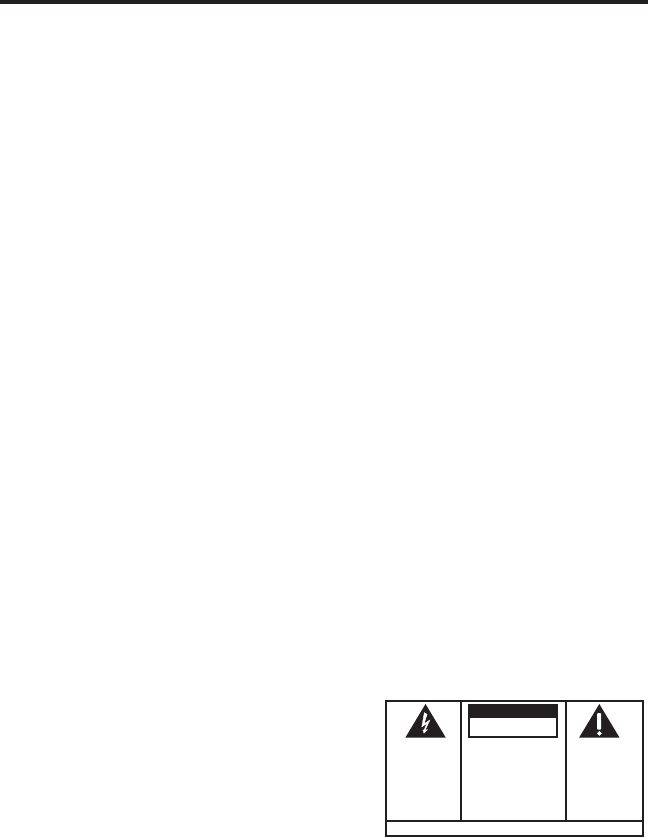
CAUTION
RISK OF ELECTRIC SHOCK
DO NOT OPEN
THE EXCLAMATION
POINT WITHIN THE
TRIANGLE IS A
WARNING SIGN
ALERTING YOU OF
IMPORTANT
INSTRUCTIONS
ACCOMPANYING
THE PRODUCT.
THE LIGHTNING
FLASH AND ARROW-
HEAD WITHIN THE
TRIANGLE IS A
WARNING SIGN
ALERTING YOU OF
"DANGEROUS
VOLTAGE" INSIDE
THE PRODUCT.
CAUTION: TO REDUCE THE
RISK OF ELECTRIC SHOCK,
DO NOT REMOVE COVER
(OR BACK). NO USER-
SERVICEABLE PARTS IN-
SIDE. REFER SERVICING
TO QUALIFIED SERVICE
PERSONNEL.
- INTRODUCTION 1
- GETTING STARTED 2
- DESKTOP SYSTEM INSTALLATION 3
- Handset hook 4
- SETTING THE ANSWERER VOLUME 5
- RECORDING THE OGA 5
- REVIEWING THE OGA 5
- MESSAGE PLAYBACK 6
- SAVING MESSAGES 6
- THE MESSAGES INDICATOR LIGHT 7
- MEMO BUTTON 7
- LEAVING A MEMO 8
- INSTANT REPLAY 8
- REMOTE ACCESS 9
- TELEPHONE OPERATION 11
- MEMORY DIALING 12
- DIALING A STORED NUMBER 13
- CHAIN DIALING 14
- Number is For Memory Location 14
- TROUBLESHOOTING GUIDE 15
- CARE AND MAINTENANCE 16
- LIMITED WARRANTY 18
Résumé du contenu
Page 1 - INTRODUCTION
INTRODUCTIONYour GE answering system is designed to give you flexibility in use andquality performance. To get the most from your answerer, we suggest
Page 2 - GETTING STARTED
10TIP: The machine tells you when a command has been completed byemitting 3 short beeps (i.e., when the last message has finished playing, themachine
Page 3 - DESKTOP SYSTEM INSTALLATION
11REDIALRedial the last number you called by pressing the REDIAL button afteryou get a dial tone.NOTE: The Redial feature holds in memory the last num
Page 4 - Handset hook
12MEMORY DIALINGStore as many as 12 numbers in memory for easy dialing. Three numberscan be stored in the Emergency Quick Dial locations (A, B, C) loc
Page 5 - REVIEWING THE OGA
13ADDING A PAUSE TO THE DIALING SEQUENCEUse the REDIAL button to insert a delay in the dialing sequence when storinga number. For example, when you ne
Page 6 - SAVING MESSAGES
14CHAIN DIALINGUse this feature if you make calls that require you to dial a sequence ofnumbers, for instance if you use a calling card for a frequent
Page 7 - MEMO BUTTON
15TROUBLESHOOTING GUIDEProblem SolutionNo dial tone/won’t dial out • Check phone line connection andhandset cord connection.• Check hook switch to mak
Page 8 - INSTANT REPLAY
16CARE AND MAINTENANCETo keep your GE telephone working and looking good, follow these fewsimple guidelines:• Avoid putting the unit near heating appl
Page 9 - REMOTE ACCESS
17AANSWER ON button 6Auto Disconnect feature 7CCall Screening 7Changing a Stored Number 12DDIAL button 13Display messages 0, 7EEmergency Quick
Page 10
Model 2-9824343A6610-0001 (Rev. 1 E/S)96-25Printed in PhilippinesP.O. Box 1976, Indianapolis, IN 46206© 1996 Thomson Consumer Electronics, Inc.Tradema
Page 11 - TELEPHONE OPERATION
2PLAY/STOP12 MEMORYEMERGENCY QUICK DIALABC162738495ABCMESSAGE SAVEMEMOSTORE MEM DIAL REDIAL FLASH*TONE7PRS4GHI18TUV5JKL2ABC0OPER#9WXY6MNO3DEFAREA COD
Page 12 - MEMORY DIALING
3NOTE: Only use the Thomson power supply that came with this unit(5-2378). Using other adapters may damage the unit.1. Connect the handset cord into t
Page 13 - DIALING A STORED NUMBER
41. Rotate the handset hook one-halfturn.2. Remove the base plate from theback by pressing down on thesnap tabs and then reverse thedirection of the b
Page 14 - Number is For Memory Location
5ANSWERING SYSTEM SET UPPULSE •• TONEVOLUMEAnswerer volumeTONE/PULSE switchSETTING THE ANSWERER VOLUMESet the volume for answering systemplayback to d
Page 15 - TROUBLESHOOTING GUIDE
6ANSWERER OPERATIONTURNING THE ANSWERER ON AND OFFOpen the door on the front of the unit and press the ANSWER ON/OFFbutton to turn the answerer on (so
Page 16 - CARE AND MAINTENANCE
7FULL TAPEWhen the tape is full, the Messages indicator light flashes rapidly. Themachine answers on the 10th ring and emits a tone. To clear the tape
Page 17
8LEAVING A MEMOLeaving a memo is just likerecording an OGA, except youuse the MEMO button instead ofthe ANNOUNCEMENT button.1. Press and hold down MEM
Page 18 - LIMITED WARRANTY
9REMOTE ACCESSYou can access your answering machine from any touch-tone phone byentering the 3-digit security code on the bottom of the unit. You canc
Produits connexes et manuels pour Répondre au téléphone Ge 2-9824

 (2 pages)
© 2020, manymanuals.fr. Tous droits réservés | 0.624 s |
 Manymanuals.com
 Manymanuals.de
 Manymanuals.fr
 Manymanuals.it
 Manymanuals.pl
 Manymanuals.cz
 Manymanuals.es
 Manymanuals-pt.com
Commentaires sur ces manuels