GE JGAS02EN Manuel d'utilisateur
Naviguer en ligne ou télécharger Manuel d'utilisateur pour Cuisiniers GE JGAS02EN. GE JGAS02EN User's Manual Manuel d'utilisatio
- Page / 36
- Table des matières
- MARQUE LIVRES
- Models: 1
- JGAS02PN 1
- JGAS02EN 1
- correct yourself 2
- WAmNG–M_ 3
- (continued 11
- ——._..— 14
- Questions and Answers 16
- (continued next page) 17
- Lift-Up/Off Cooktop 19
- Control Panel and 21
- Oven Shelves 21
- Removable Oven 22
- Broiler Drawer 22
- Pan and Rack 23
- Oven Door 23
- head and 26
- screwdrivers 26
- FIGURE ONE 28
- For a Harper-Wyman 29
- INSURE PROPER 30
- GROUND EXISTS 30
- BEFORE USE 30
- Surface 31
- ❑ SURWE 32
- QUESmONS? 34
- USE THIS PROBLEM SOLVER 34
- Be There 35
Résumé du contenu
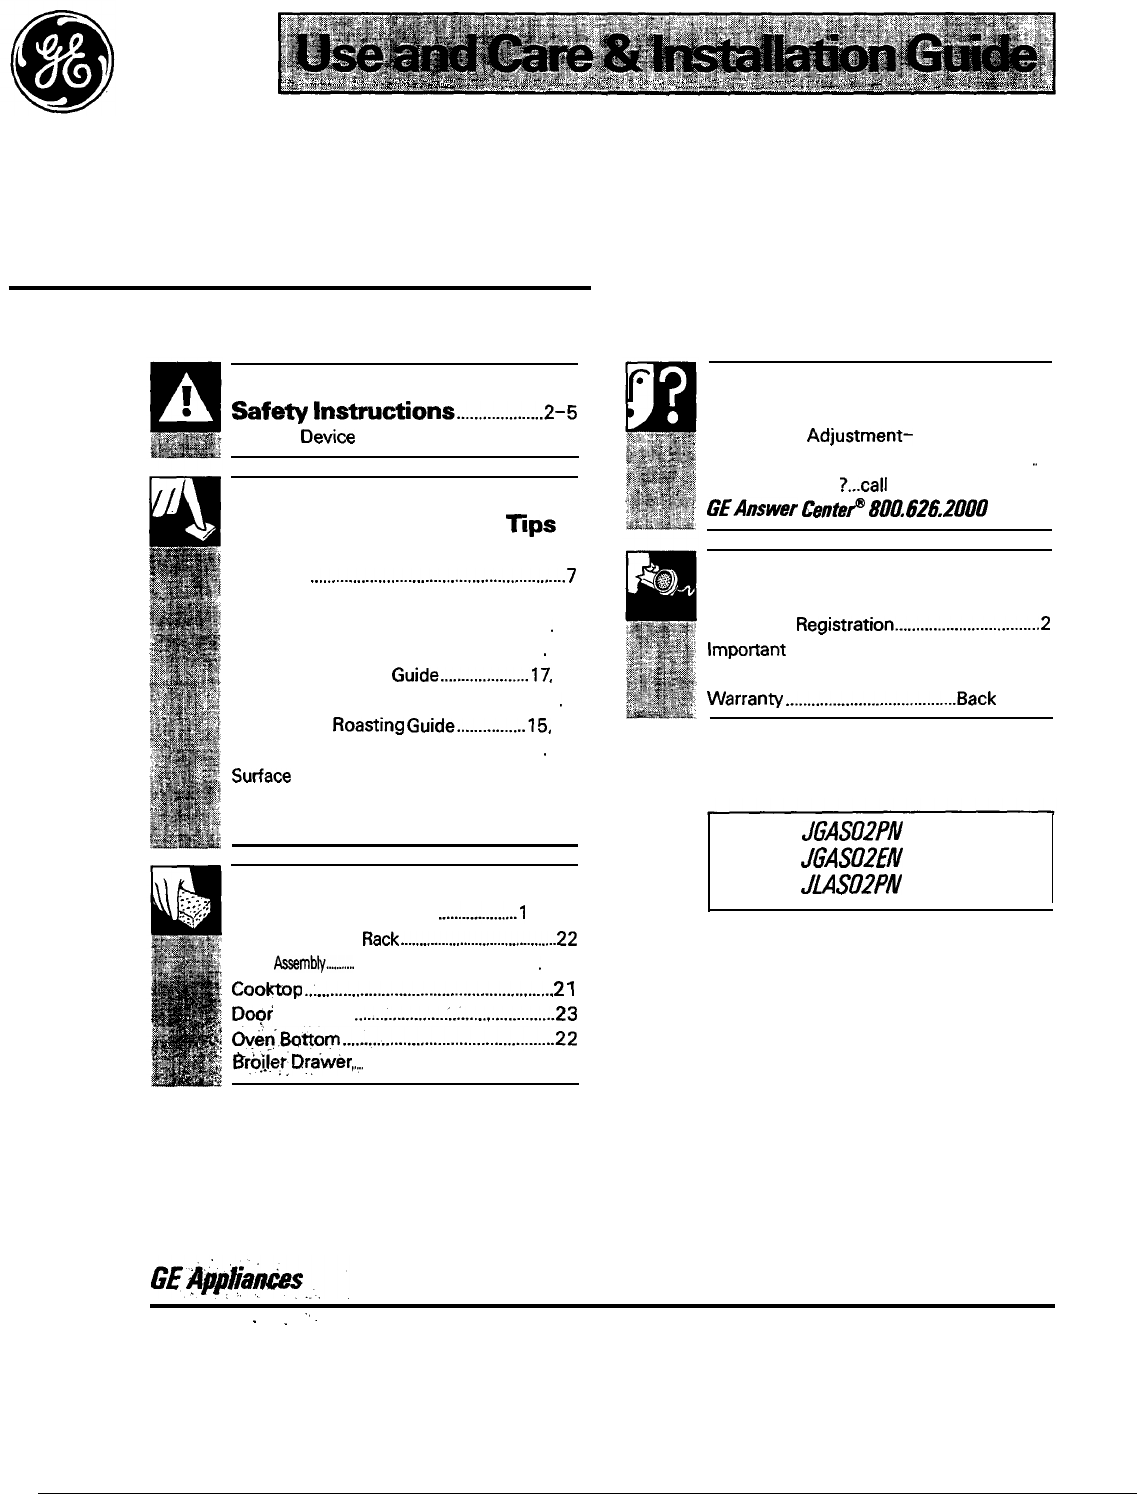
“ ‘GasRangeSafe* Instrudons...2-5Anti-Tip Deviw ...2, 3, 19,28Operating Instructions, TtpsAluminum Foil ...
Before Using Your OvenBe sure you understand how to set the controls properly. Practice removingand replacing the shelves while the oven is cool. Read
Oven ControlYour oven is controlled by an OWN TE~ knob.After the oven reaches the selected temperature, theIt will norrndly take 30-90 seconds before
USmG YOUR O~N(continued)Oven VentsThe oven is vented tiough duct openings at the rear● Handles of pots and pans on the cooktop mayof the cooktop. See
How to Set Your Range For BatingTo avoid possible bum, place the shelves in the2. Check the food for doneness at the minimum timecorrect position befo
BA~G(continued)Bahg Guidesmen using prepared baking mixes, follow package recipe or instructionsfor the best baking results.Cootiesmen bting cookies,
Roasting is cooking by dry heat. Tender meat or poultry can be roasteduncovered in your oven. Roasting temperatures, which should be low andsteady, ke
ROASTmG(continued)Questions and AnswersQ. Is it necessary to check for donenws with aQ. h I need to preheat my oven wch time I cookmeat thermometer?a
How to BrotiBroiling is cooking food by direct heat horn above theYour range has a compartment below the oven forfood. Most fish and tender cuts of me
BRO~~G G~EThe oven and brofler compartment doors must be3. If desired, marinate meats or chicken beforeclosed duting brotikg.broiling. Or, brush with
Proper care and cleming are important so your range will give you efficientand satisfactory service. FO11OW these directions carefully in ctig for it
=LP US ~LP YOURead this book carefdy.~ you received a damaged rarige...It is intended to help you operate and maintain yourtiediately contict the alde
CA~ ~ CLEHG(continued)BurnersTo remove burned-on food, soak the surface burnerin a solution of mild liquid detergent and hot water.Soak the surface bu
Burner GratwLift them out when cool. Grates should bewashed regularly and, of course, after sptiovers.Wash them in hot, soapy water and rinse with cle
CAm ~ CLE-G(continued)Removable Oven BotiomThe oven bottom can be removed to make cleaningeasier. Make sure the oven is completely cool.To remove:1. L
Brofler Pan and RackAfter brofing, remove the broiler pan and rack from Wash; scour if necess~. Rinse and dry. The broilerthe oven. ~ait until the ove
CA~ & CLEA~G(continued)Porceltin Oven htefiorWith proper care, theporcelain enamel ftish onthe inside of the oven willstay new-looting for years.L
BEFORE YOU BEGINRead these instructions complete~ andtiefu~.IMPORT~: Save these instructionsfor the lod electrid inspectors use.INST~E kve these inst
lMW~ANT WHY lHSTRU~IOHSks*tion of tis -e must conform titb10A codes, or h the absence of lod codes,titb the National Fuel Gas Code, ANSI=23.1, k=t dti
❑ ~KGUMD lHfiMWTIOH1. Place backguard assembly into position onthe black pedesti at rear of range. backguardbolts are attached to bottom of backguard
❑ MTFTIPDMCE lH=~lON lN~U~lONSN~: A risk of range tip-ver ~sts if theappfiance is not instied in accordance with theinitiation instructions provided.
❑ ONVE~ BURHERORIFICWMD ~ESUREREGUWTOR OF HECEM~LP GAS S~lNG1. CO~R~G BURNER O~C~ TOW GASTighten the orifice hoods for the surface burnersand oven bur
WORTW S~TY NO~CE● The Mornia Safe Brirddng Water M TomEnforcement Act requires the Governor ofC~ornia to pubtishatist of substances howntothe state to
❑ COHNE~ THE M6E ~6~1. Hthe range is to be connected to housepiping with flexible or semi-rigid meti appfianceconnector, connector nuts MU= NOT beconn
❑ IF WGE WfiMDING ~LOWLIGHT MD WJUST SURWE BURNER PILO~1. Purge dl air from supply system by turningone top burner valve fu~y ON for 15 seconds.2. Tur
❑ OVEN OPEWTION1. With the oven thermostat did in the OFFposition, fight standing pflot on oven burner pflotassembly On electric @tion models do notat
WHEN ml HOOKU~ ~E ~MPLETED1. M&e sure ~ controls are left in the OFFposition.2. M&e sure the flow of combustion andventilation air to the rang
QUESmONS?USE THIS PROBLEM SOLVERPROBLEMOVEN ~L NOT WORKTOP BURNERS DO NOTLIGHT OR DO NOTBURN EVE~YBURNERS HAVE YELLOWOR YELLOW-~PED=AMESBURNER ~AMES V
Wdll Be ThereWith the pmchase ofyournew GE appliance, receive the assurance that ifyou ever needtiormation or usistice from GE, wdll be there. All you
YOUR GE GAS RANGEStaple sales slip or cancelled checkWARRAN~here. Proof of original purchase dateis needed to obtain semiceunder warran~.IIWHAT IS COV
● Do not leave Mdren #one or unattendedwhere a range is hot or in operatiaThey cordd be seriously burned,● Do not Uow anyone to ebb, stand or hang ont
● Foods for- shotid be as dry as possibleFrost on tiomn foods or moisture on fresh foodscan cause hot fat to bubble up and over sides ofthe pan.● Use
Your range, tike many other household items,The range should be instiled on a l/4-inch thickis hwvy and can settle into soft floor coveringssheet of
YI+Shnding Pilot ModelsJGAS02PNJLAS02PN\Electtic Ignition ModelJGAS02ENFwture hdex1 Anti-Tip Device(see Safe~ hstructions)2 Model and Serbd Number3 Re
SMACE COO~GLighting Instructions for Electric Ignition Models JGAS02ENThe surface burners on some models me lighted byelectric ignition, eliminating t
To Light a Surface BurnerAfter Lighting a BurnerElectric Ignition Modeh:~h the control hob in andtumittoLITE.Youwillhem ~1111a litde “clicking” noise—
Produits connexes et manuels pour Cuisiniers GE JGAS02EN
 (32 pages)
(24 pages)
(44 pages)
(64 pages)
(60 pages)
(52 pages)
(32 pages)
(28 pages)
(52 pages)
(48 pages)
(48 pages)
(32 pages)
(24 pages)
(44 pages)
(64 pages)
(60 pages)
(52 pages)
(32 pages)
(28 pages)
(52 pages)
(48 pages)
(48 pages)

 (12 pages)
(52 pages)
(32 pages)
(56 pages)
(48 pages)
(28 pages)
(12 pages)
(52 pages)
(32 pages)
(56 pages)
(48 pages)
(28 pages)
© 2020, manymanuals.fr. Tous droits réservés | 1.365 s |
 Manymanuals.com
 Manymanuals.de
 Manymanuals.fr
 Manymanuals.it
 Manymanuals.pl
 Manymanuals.cz
 Manymanuals.es
 Manymanuals-pt.com
Commentaires sur ces manuels