Ge ZET2 Manuel d'utilisateur
Naviguer en ligne ou télécharger Manuel d'utilisateur pour Matériel Ge ZET2. GE ZET2 User Manual Manuel d'utilisatio
- Page / 16
- Table des matières
- MARQUE LIVRES
Résumé du contenu
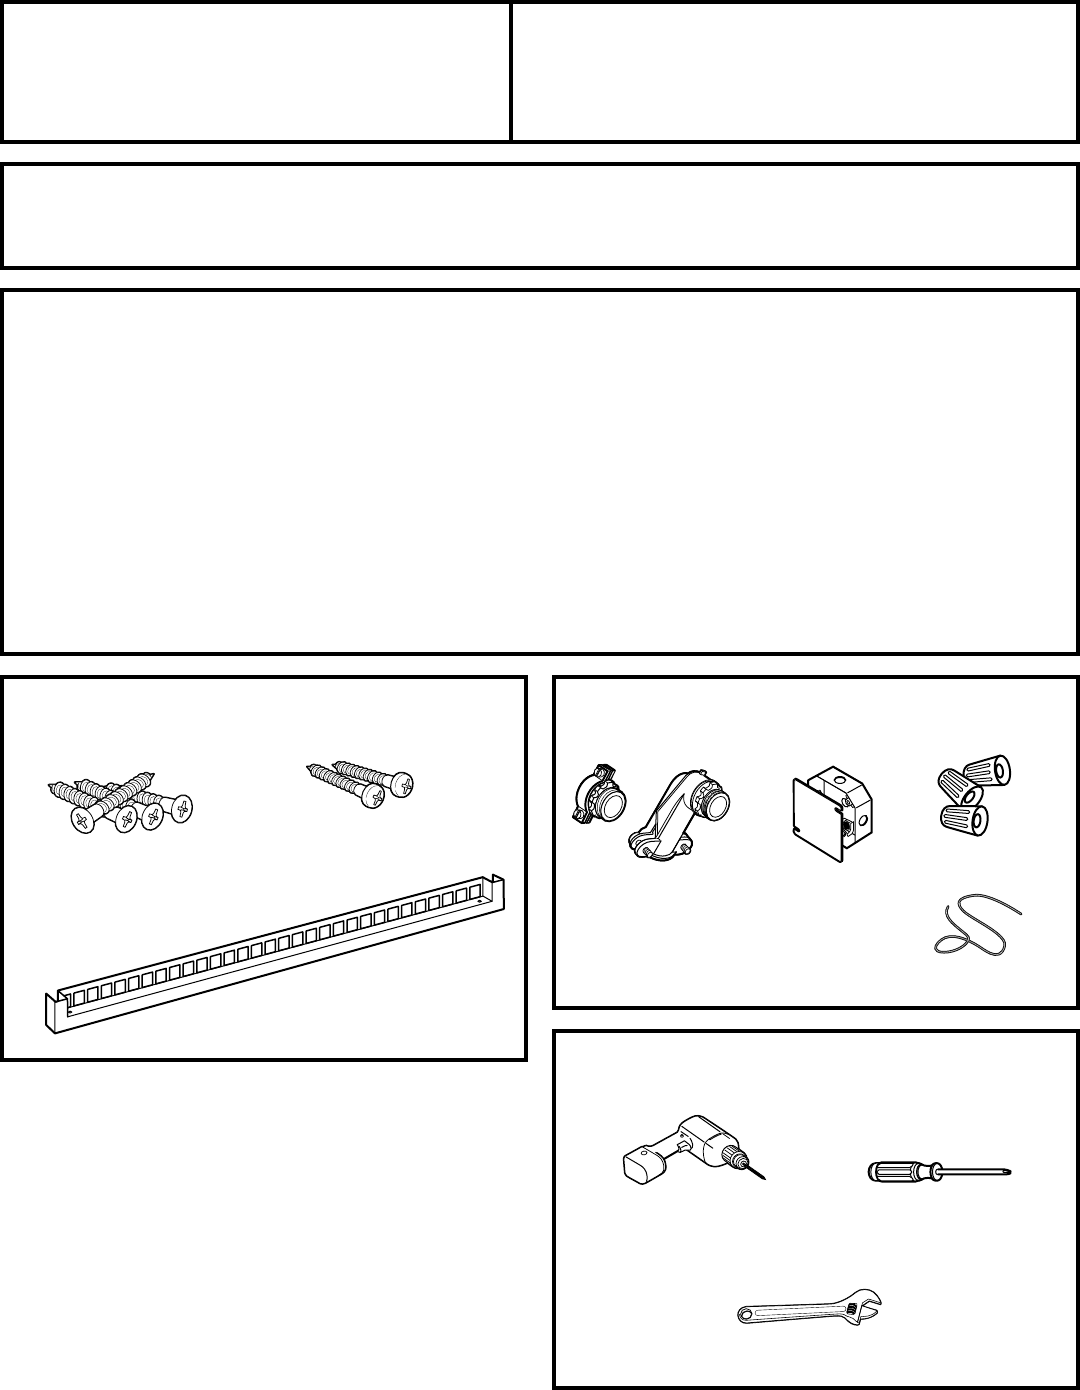
130” Built-In Wall OvenInstallationInstructionsZET1, ZET2If you have questions, call 1.800.GE.CARES or visit our website at:ge.comBefore You BeginRead
10(Continued on following page)Installation InstructionsElectrical ConnectionsATTENTION INSTALLERAll electric wall ovens must be hard wired(direct wir
11Installation InstructionsElectrical Connections cont.B6Three-Conductor BranchCircuit ConnectionWhen connecting to a three-conductor branch circuit,i
12(Continued on following page)WARNING: Mountingscrews must be used. Failure todo so could result in the ovenfalling out of the cabinet causingserious
13Installation InstructionsInstalling the MetalBottom TrimIMPORTANT: If this unit is everremoved from the cabinet or the ovenis ever pulled out for se
14Lift the oven door byplacing one hand oneach side. The door isheavy, so you may needhelp. Do not lift the doorby the handle.With the door at the sam
15Installation InstructionsRemove all protective film, if present, andany stickers.Check to be sure that all wiring is secureand not pinched or in con
16Printed in U.S.A.
2IMPORTANT SAFETY INSTRUCTIONSInstallation InstructionsFor Your Safety• Be sure your oven is installed properly bya qualified installer or service tec
3Open oven door and removeliterature pack, broiler pan and grid,oven racks, rack supports and a bagwith 9 hex nuts.Read Installation Instructions care
4Place the oven on a table or platformeven with the cutout opening.(Platform must support 175 lbs.[79 kg] single, 350 lbs. [159 kg]double.)Installatio
5Cabinet Width 30” (76.2 cm)RecommendedMinimumCutout Locationfrom Floor 32 1/2” (82.6 cm)Cutout Depth 23 1/2” (59.7 cm) Min.Cutout Width 28 1/2” (72.4
6Installation InstructionsCabinet Width 30” (76.2 cm)RecommendedMinimumCutoutLocationfrom Floor 12” (30.5 cm)Cutout Depth 23 1/2” (59.7 c
7Installation InstructionsCutout for Single Built-In OvenUnder CounterA325"Gas or electric cooktopsmay be installed over this oven. See cooktop i
8CabinetryNOTE: Additional clearances between cutoutsmay be required. Check to be sure the ovensupports above the Warming Drawer locationdo not obstru
9NOTE: The middle rail separating the twoopenings may need to be larger than the 2”(5.1 cm) minimum shown. Always refer to theindividual installation
Produits connexes et manuels pour Matériel Ge ZET2
 (48 pages)
(12 pages)
(48 pages)
(12 pages)

 (48 pages)
(24 pages)
(4 pages)
(114 pages)
(16 pages)
(44 pages)
(48 pages)
(24 pages)
(4 pages)
(114 pages)
(16 pages)
(44 pages)
© 2020, manymanuals.fr. Tous droits réservés | 1.998 s |
 Manymanuals.com
 Manymanuals.de
 Manymanuals.fr
 Manymanuals.it
 Manymanuals.pl
 Manymanuals.cz
 Manymanuals.es
 Manymanuals-pt.com
Commentaires sur ces manuels