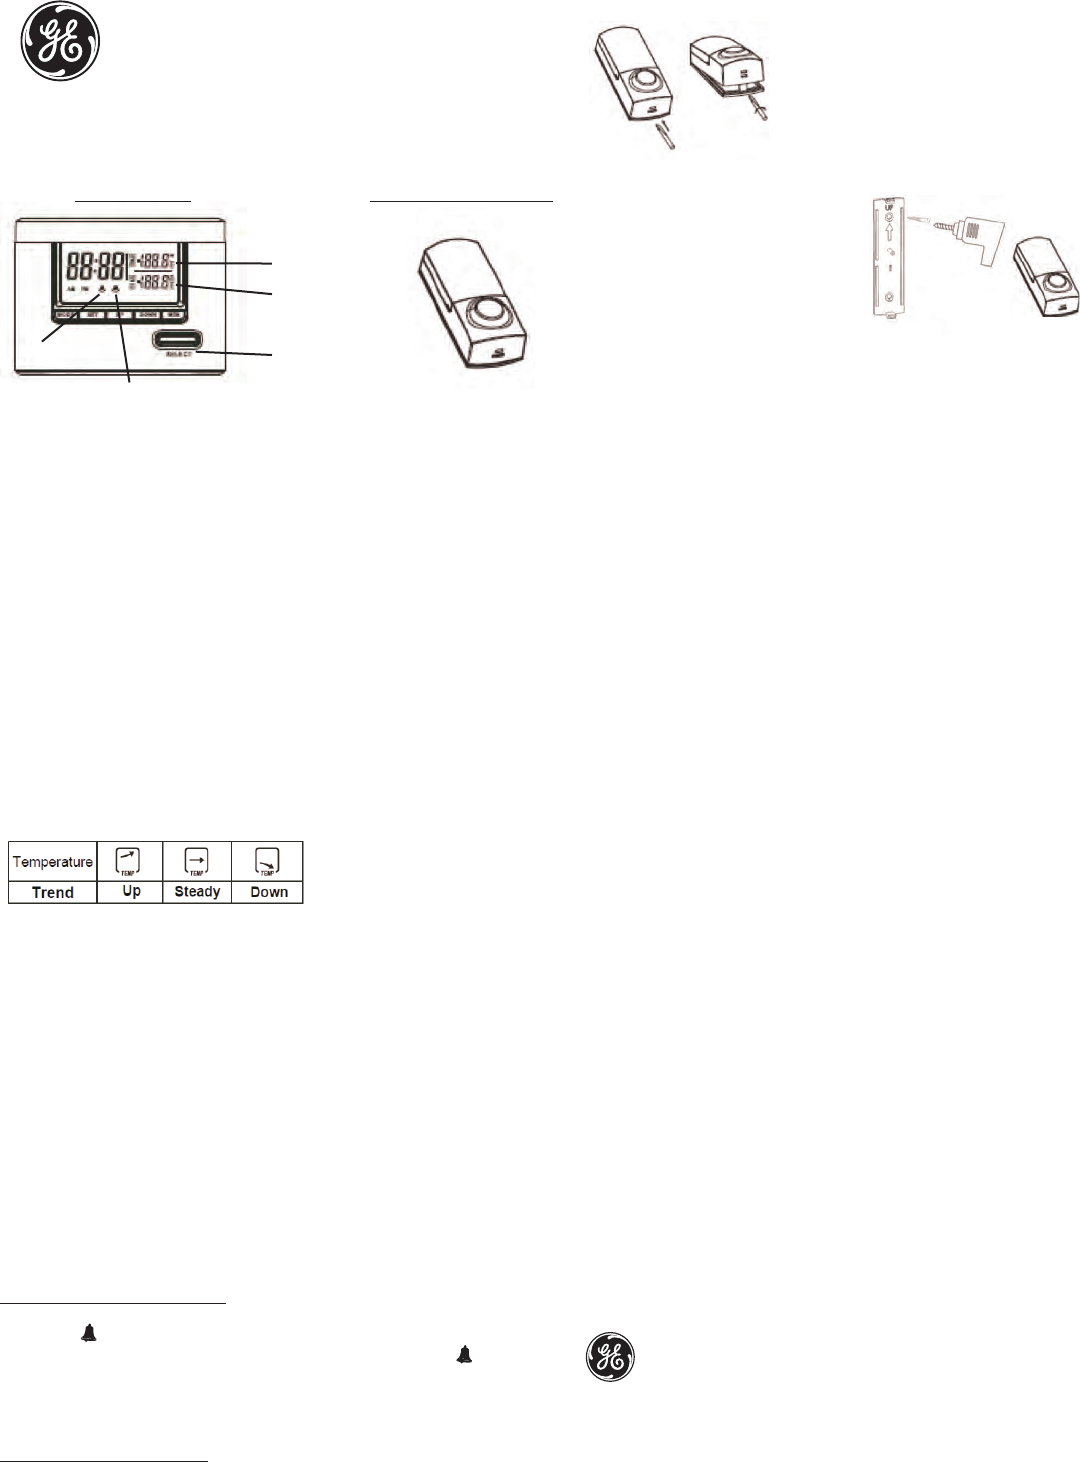
1. To remove the back cover, push a flat head screw driver into the slot at
the bottom of the transmitter. Back cover will release (See image 1).
2. Before mounting, choose a mount-
ing location that is no further than 150
feet from the chime unit location. Place
push button where you would like to
mount and test with the chime as close
to its final location as possible. If it works,
continue with mounting button. If it does
not work, see TROUBLESHOOTING.
3. Secure the back cover to the mount-
ing surface with the 2x20mm screws.
4. Press front housing onto back cover.
5. Test operations, if chime does not
work, see TROUBLESHOOTING.
Troubleshooting
If the chime does not work:
1. Make sure push button switch is pressed down and held for at least 1
second.
2. Verify battery installation is correct, noting polarity
3. Try fresh batteries.
4. Make sure chime is no further than 150 feet away from push button.
5. Ensure push button is not mounted on metal, near metal studs, or
near the floor.
6. Try a new location for the chime.
7. Press the recessed reset button located on the back of the chime.
8. If the outdoor temperature is not displayed on the Chime display,
remove the back cover of the push-button and press the reset button
located below the batteries.
Functional range may be adversely affected by one or more of the fol-
lowing factors: weather, radio frequency interference, low transmitter
battery and obstructions between the transmitter and receiver.
This device complies with part 15 of the FCC rules. Operation is subject
to the following two conditions:
(1) this device may not cause harmful interference, and (2) this device
must accept any interference received, including interference that
may cause undesired operation.
FCC NOTE: The manufacturer is not responsible for any radio or TV
interference caused by unauthorized modifications to this equipment.
Such modifications could void the user’s authority to operate the
equipment.
NOTE: This equipment has been tested and found to comply with the
limits for a Class B digital device, pursuant to Part 15 of the FCC Rules.
These limits are designed to provide reasonable protection against
harmful interference in a residential installation. This equipment
generates, uses and can radiate radio frequency energy and, if not
installed and used in accordance with the instructions may cause
harmful interference to radio communications. However, there is no
guarantee that interference will not occur in a particular installation. If
this equipment does cause harmful interference to radio or television
reception, which can be determined by turning the equipment off and
on, the user is encourage to try to correct the interference by one or
more of the following measures:
• Reorient or relocate the receiving antenna.
• Increase the separation between the equipment and receiver.
• Connect the equipment into an outlet on a circuit different from that
to which the receiver is connected.
• Consult the dealer or an experienced radio/TV technician for help.
For technical support contact Jasco Products Company at
1-800-654-8483 or www.jascoproducts.com
Made in China - Hecho en China
is a trademark of General Electric Company and is used under
license to Jasco Products Company LLC, 10 E. Memorial Road,
Oklahoma City, OK 73114.
www.jascoproducts.com
Wireless Door Chime Kit
Installation Instructions
Required Tools: Small flat blade screwdriver and phillips screwdriver.
The wireless door chime Kit has two components:
Chime (Receiver)
Chime Tune Setting
1. Press the SELECT button located on the front of the chime to cycle through the
32 melodies.
2. The last melody played will be set as the chime tune.
12 Hour/24 Hour Time Mode Setting
1. Press the SET button once to switch between 12 hour and 24 hour time mode.
Clock Setting
NOTE — Clock will return to normal status if no buttons are pressed for 10 seconds
1. In normal status, press and hold the SET button for 2 seconds to set the time
and date.
2. Press the UP and DOWN buttons to set the hour. Press SET to confirm.
3. Press the UP and DOWN buttons to set the minutes. Press SET to confirm.
Wireless Temperature Information
After batteries are installed, or the reset button is pressed on the back of the receiv-
er, the receiver will begin searching for wireless data for 5 minutes. The push button
will transmit the outdoor temperature data to the receiver every two minutes. The
LCD screen will display the outdoor temperature on the bottom right and the indoor
temperature on the top right.
Temperature Reading
1. To select Celsius or Fahrenheit temperature reading, press the recessed ºC/ºF
button on the back off the chime.
2. In normal display, press the MEM button to view the maximum and minimum
temperatures.
3. Press and hold MEM for 2 seconds to erase the max/min temperature data.
Alarm Setting
NOTE: Two alarms can be set for this module. From normal status, pressing MODE
once will allow you to program Alarm 1. Pressing mode a second time will allow to
begin programming Alarm 2.
1. In normal status, press the MODE button once, then press and hold the SET but-
ton for 2 seconds to set Alarm1.
2. Press the UP and Down buttons to set the hour. Press SET to confirm.
3. Press the UP and Down buttons to set the minutes. Press SET to confirm.
4. In normal status, press the MODE button twice, then press and hold the SET
button for 2 seconds to set Alarm 2. Repeat steps 2 through 3 to set the hour
and minutes.
To activate/deactivate the alarm:
1. In normal status, press the UP button to activate Alarm1. A bell with a 1 will
appear (
).
2. Press UP again to active just Alarm2. A bell with a 2 will appear (
).
3. Press UP a third time to active Alarm1 and Alarm2. Both bell icons will appear.
4. Press UP one last time to deactivate both alarms.
Both bell icons will disappear.
To turn off the sounding alarm:
1. Press any button (MODE, SET, UP, DOWN, MEM) to turn off the alarm.
Push Button Mounting Instructions
Note: Avoid mounting on metal surfaces, as it may result in a reduced range of
transmission. Do not mount in an area exposed to direct rain. Push buttons are
typically mounted at the same height as the door knob or handle (between 36” and
44” above the floor).
GE Model 19238
10/21/2011
Alarm 1
Alarm 2
Chime
Selection
Button
Outdoor temp
Indoor temp
Push-Button (Transmitter)
Image 1
 (12 pages)
 (1 pages)
 Manymanuals.com
 Manymanuals.de
 Manymanuals.fr
 Manymanuals.it
 Manymanuals.pl
 Manymanuals.cz
 Manymanuals.es
 Manymanuals-pt.com
Commentaires sur ces manuels