GE 239D4106P009 Manuel d'utilisateur
Naviguer en ligne ou télécharger Manuel d'utilisateur pour Réfrigérateurs-congélateurs côte à côte GE 239D4106P009. GE 239D4106P009 User's Manual Manuel d'utilisatio
- Page / 47
- Table des matières
- MARQUE LIVRES
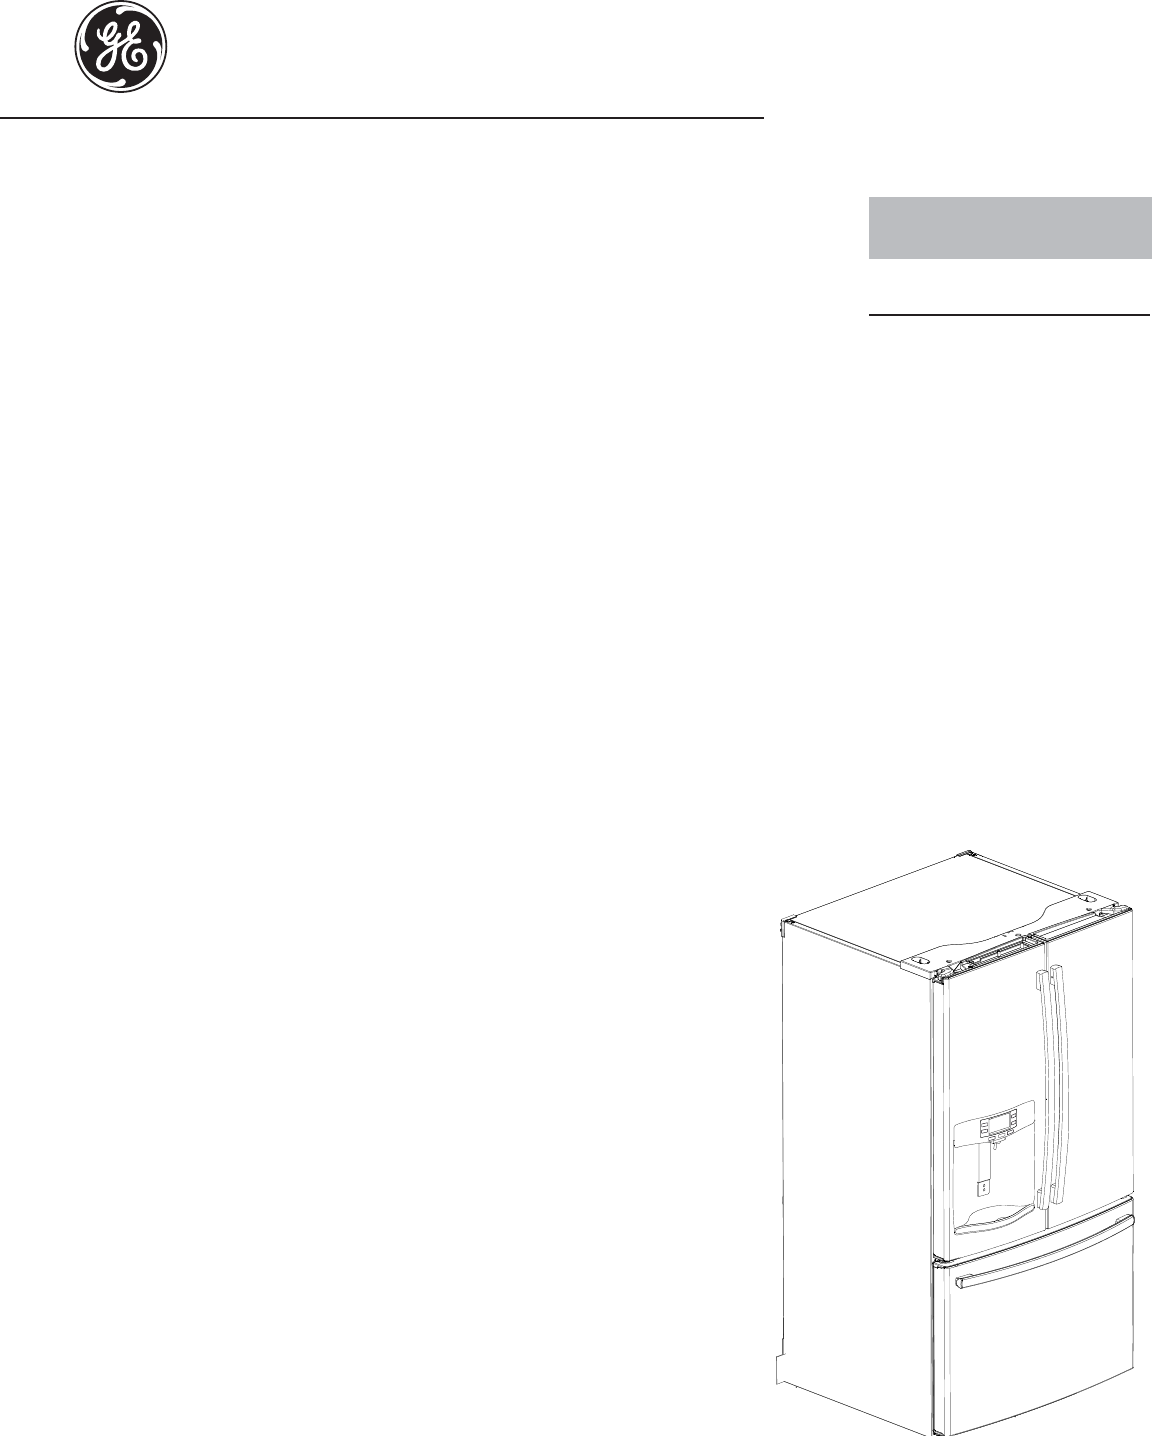
- Refrigerators 1
- IMPORTANT SAFETY INFORMATION 2
- GE Appliances website 2
- GEAppliances.com 3
- SAVE THESE INSTRUCTIONS 3
- About the features. * 4
- Push/Pull 5
- Refrigerator 6
- Door Alarm 6
- Ice Maker 6
- Lock Controls 6
- Reset Filter 6
- Temperature 7
- PFE27, PYE23K 8
- About the dispenser.* 10
- About autofill.* 11
- WARNING 12
- Rearranging the Shelves 13
- Spillproof Shelves 13
- Quick Space Shelf 13
- Adjustable Bins on the Door 14
- Non-Adjustable Dairy Bin 14
- About the climate zone and 15
- Freezer Basket and Drawer 17
- Basket Removal 17
- Extra Ice Storage* 18
- Replacing the lights 20
- TOOLS YOU MAY NEED 21
- BEFORE YOU BEGIN 21
- PREPARATION 21
- Ȓµ Socket Ratchet/Driver 21
- Installation Instructions 22
- (cont.) 27
- Installation 29
- Instructions 29
- Normal operating conditions 37
- Before you call for service… 38
- Truth or Myth 40
- Truth or Myth (cont.) 41
- GET CONNECTED 42
- What GE Will Not Cover: 43
- Appliances 44
- Appliance Park 44
- Louisville, KY 40225 44
- Performance Data Sheet 45
- Model: GE RPWF 45
- Water Treatment Device 46
- Certicate Number 46
- Printed in United States 47
Résumé du contenu
GEAppliances.comRefrigeratorsBottom Freezer239D4106P009 49-60683 01-13 GESafety Instructions ...2, 3Operating Instructions Features ...
Lock ControlWaterCubedAutoFillPreciseFillLight10About the dispenser.*Dispenser trayImportant Facts About Your Dispenser Do not add ice from trays or
11About autofill.* GEAppliances.comLock ControlWaterCubedAutoFillPreciseFillLightTo Use HANDS FREE AUTO FILL: Center container on Recess Dispenser
12About the GE® RPWF water filter cartridge. Swing Push/Pull Water Filter Cartridge The water filter cartridge is located in one of the following plac
13Rearranging the ShelvesTo remove: Remove all items from the shelf. Tilt the shelf up at the front. Lift the shelf up at the back and bring the shel
14About the fresh food storage options. Non-Adjustable Bins on the DoorTo remove: Lift the bin straight up, then pull out.To replace: Engage the bin
CAUTION Laceration Hazard Do not store glass bottles at this setting. If they are frozen, they can break and cause personal injury.ClimateZoneTempera
To remove: Pull the drawer out to the stop position. Lift the front of the drawer up and out.To replace: Pull left and right slides until ful
17About the freezer. GEAppliances.comFreezer Basket and Drawer Basket.DrawerUtility Bin / Ice Bucket Non-Adjustable Bin in the FreezerTo remove: pus
18About the automatic ice maker. A newly installed refrigerator may take 12 to 24 hours to begin making ice.Automatic Ice Maker*The ice maker will pro
19Care and cleaning of the refrigerator. GEAppliances.comCleaning the OutsideThe stainless steel panels, door handles and trim. Do not use appliance
IMPORTANT SAFETY INFORMATION.READ ALL INSTRUCTIONS BEFORE USING.2IMPORTANT SAFETY INFORMATION READ ALL INSTRUCTIONS BEFORE USING GE Appliance
20Replacing the lights. Refrigerator Lights (LEDs)There is LED lighting in fresh food compartment and on the bottom of the fresh food doors to light
21TOOLS YOU MAY NEED Installation Refrigerator Instructions GE and GE Profile™ models4XHVWLRQV"&DOO*(&$5(6
22Installation Instructions8VLQJWKHFKDUWEHORZGHWHUPLQHLIWKHZLGWKRI\RXUSDVVDJHZD\FDQDFFRPPRGDWHWKHGHSWKRIWKHUHIULJHUDWRU(QVXUH\R
23Installation InstructionsINSTALLING THE REFRIGERATORREFRIGERATOR LOCATION 'RQRWLQVWDOOWKHUHIULJHUDWRUZKHUHWKHWHPSHUDWXUHwill go belo
24Installation Instructions REMOVE THE REFRIGERATOR DOORS (cont) Disconnect the water line from the back of the unit by pressing down on the dark grey
REINSTALLING THE REFRIGERATOR DOORS Reverse steps 1 through 4 to reinstall refrigerator, follow details below for critical alignments. A5HLQVWDOOFH
Installation InstructionsINSTALLING THE REFRIGERATOR (cont.)26 REMOVE THE FREEZER DOORPull the freezer door open to full extension. Remove 3 attachme
27Installation InstructionsINSTALLING THE REFRIGERATOR (cont.) Refer to 239D4144P001, Pub No. 31-45474-2IMPORTANT! The 6 mounting screws (3 on each si
Installation Instructions28 LEVEL THE FREEZER DOORLocate the height adjuster cam in the freezer door. Slightly loosen the three door attachment screw
MEASURE CABINET OPENING AVAILABLE VS. REFRIGERATOR WIDTHMeasure width of cabinet opening where refrigerator will be placed, W.Be sure to account for
3 GEAppliances.comREAD AND FOLLOW THIS SAFETY INFORMATION CAREFULLY.SAVE THESE INSTRUCTIONSWARNING Suffocation and child entrapment hazard. Remove
AT-2 LOCATING THE ANTI-TIP FLOOR BRACKET (cont.)Recommended Installation – WoodRecommended Installation – ConcreteMinimum Acceptable #1 – Wall Plate
31Installation Instructions CONNECTING THE REFRIGERATOR TO THE HOUSE WATER LINE A cold water supply is required for automatic ice maker operati
Installation Instructions TURN ON THE WATER SUPPLY Turn the water on at the shutoff valve (house water supply) and check for any leaks.12 PLUG IN TH
Installation InstructionsGRefrigerator Assembly Instructions, suggested assembly.,QVWUXFWLRQVĈDVVHPEODJHGXUpIULJHUDWRUĈDVVHPEODJHVXJJpUHUInstru
Installation Instructions34INSTALLING THE WATER LINERecommended copper water supply kits are WX8X2, WX8X3 or WX8X4, depending on the amount of tubing
Installation InstructionsINSTALLING THE WATER LINE (cont.) NOTE: The only GE approved plastic tubing is that supplied in GE SmartConnect™ Refrigerat
Installation Instructions36Place the compression nut and ferrule (sleeve) for copper tubing onto the end of the tubing and connect it to the shutoff
Normal operating conditions. GEAppliances.comNewer refrigerators sound different from older refrigerators. Modern refrigerators have more features a
Troubleshooting Tips Save time and money! Review the charts on the following pages first and you may not need to call for service. Before you call fo
Troubleshooting Tips (cont)39 Before you call for service… GEAppliances.comProblem Possible Causes What to DoNo water or ice cube production* Supply l
Space-saving ice maker*Ice maker and bin are located on the door creating more usable storage space.Showcase LED lightingLED lighting is positioned t
40Truth or Myth? Answer ExplanationThe refrigerator water filter may require replacement, even though the filter indicator has not turned red, or read
41Truth or Myth? Answer ExplanationDoor removal is always required for installation. MYTH Check chart on reverse side of this instruction. Doors shoul
42Refer to 239D3392P001 Pub No. 31-49000Manage your appliances from your computer or iPhone®Combine a GE Brillion™ Get Connected Starter Kit with yo
43Refrigerator Warranty. (For customers in the United States)All warranty service provided by our Factory Service Centers, or an authorized Customer C
44RPWF Water Filter Cartridge Limited Warranty.Contact us at www.geapplianceparts.com,or call 800.GE.CARES.This warranty is extended to the original p
45Performance Data SheetModel: GE RPWF Use Replacement Cartridge RPWF. The concentration of the indicated substances in water entering the system was
46State of CaliforniaDepartment of Public HealthWater Treatment DeviceCerticate Number Date Issued: November 16, 2011Trademark/Model DesignationR
Consumer Support. GE Appliances Website In the U.S.: GEAppliances.comHave a question or need assistance with your appliance? Try the GE Appliances web
5Door ice bin*1. Open left fresh food door.2. Pull down latch to release bin door.3. Using handhold lift ice bucket up and out to clear locators in
About the controls with temperature settings.The temperature controls are preset in the factory at 37°F for the refrigerator compartment and 0°F for t
Changing the Temperature for Control Style ATo Change the Refrigerator Temperature: Access By: Temperature Button Activate
8Turbo CoolLock ControlsLightTurbo FreezeDoor AlarmReset FilterFreezerRefrigeratorActual Temp Set TempReplace Water FilterWaterCrushedCubedHands-free
9About the controls - features.* GEAppliances.comFreezerRefrigeratorFFActual Temp Hold 3 sec Set TempIce TopIce BottomON OFFON OFFEnergySmartReplace
Produits connexes et manuels pour Réfrigérateurs-congélateurs côte à côte GE 239D4106P009
 (2 pages)
© 2020, manymanuals.fr. Tous droits réservés | 0.599 s |
 Manymanuals.com
 Manymanuals.de
 Manymanuals.fr
 Manymanuals.it
 Manymanuals.pl
 Manymanuals.cz
 Manymanuals.es
 Manymanuals-pt.com
Commentaires sur ces manuels